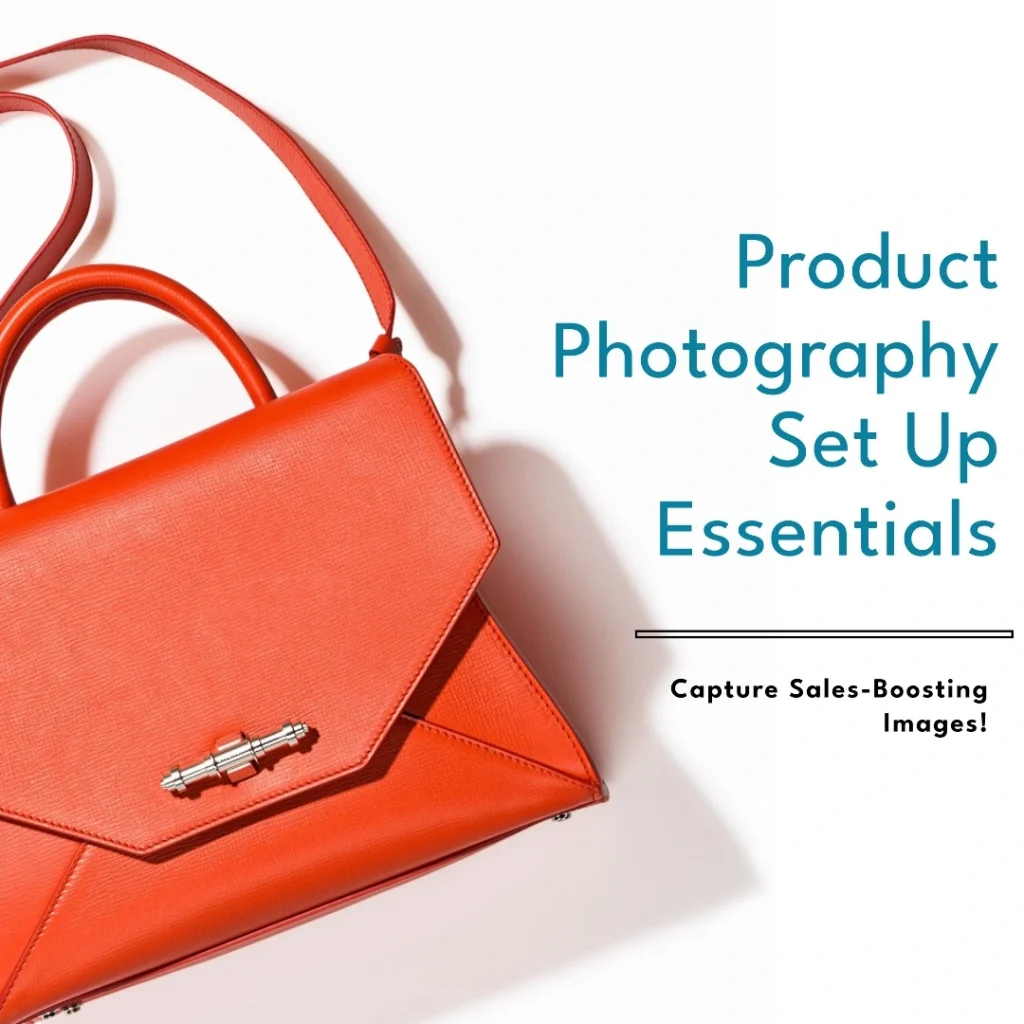
Are you ready to take pictures that make your products shine? We’ve got you covered! Here’s a step-by-step guide to setting up your very own product photography studio. It’s easy and fun!
Step 1: Find the Perfect Spot
First things first, you need a place to take your photos. A small room or a corner with lots of light is perfect. Make sure it’s a quiet place where you can work without interruptions.
Step 2: Let’s Talk About Light
Light is super important in photography. Natural light from a big window is awesome. But, if you don’t have that, don’t worry! You can use lamps. Just make sure the light is bright and even.
Step 3: Get a Backdrop
Next, you’ll need a backdrop. This is what goes behind your product. A plain white sheet or a large piece of paper works great. It makes your product stand out and look super professional.
Step 4: The Camera
You don’t need a fancy camera to start. Your smartphone or a simple digital camera will do the trick. The important thing is to learn how to use it well. Play around with it and see what works best.
Step 5: Tripod Time
A tripod is a stand for your camera. It keeps your camera steady. This means your photos won’t be blurry. They make tripods in all sizes, so you can find one that’s just right for you.
Step 6: Set Up Your Product
Now, it’s time to set up your product. Make it look its best. If it’s something you wear, like a hat, you might use a mannequin head. If it’s smaller, like a ring, just place it on your backdrop.
Step 7: Lights, Camera, Action!
With everything in place, you’re ready to take photos. Take lots of them from different angles. This gives you lots of options to choose from later.
Step 8: Editing Magic
After taking your photos, you might want to make them even better. You can use editing software on your computer or apps on your phone. You can make the colors pop, crop the picture, or fix the light.
Step 9: Share Your Photos
Now that your photos look amazing, it’s time to show them off. You can put them on your website, social media, or wherever you sell your products. They’re sure to catch people’s eyes!
Extra Tips for Awesome Photos
- Keep It Simple: Don’t let the background distract from your product.
- Be Consistent: Try to make all your photos look similar. This makes your brand look professional.
- Practice Makes Perfect: The more you practice, the better you’ll get. So, keep taking photos!
Frequently Asked Questions
What Is A Basic Product Photography Setup?
A basic product photography setup typically includes a camera, tripod, lighting equipment, a white backdrop, and reflectors to ensure professional-looking images.
Can I Use Natural Light For Product Photography?
Yes, natural light can be used for product photography, especially to achieve a soft, natural look, but controlling the lighting with modifiers is often necessary.
What Camera Settings Are Best For Product Shots?
For sharp product shots, a low ISO, mid-range aperture (f/8-f/11), and a shutter speed that accommodates the lighting conditions are typically recommended.
How Important Is A Tripod In Product Photography?
A tripod is crucial for product photography as it provides stability, sharpness, and the ability to replicate shots consistently for a professional finish.
Conclusion
Setting up your own product photography studio is a fun project. It can really make your products look amazing. Just follow these simple steps and use the extra tips to make your photos stand out. Happy photographing!

